Tuesday, July 9, 2013

Land of Nod LANDS in California

Do you love Land of Nod like me? The catalog is gorgeous and every time it arrives at my home I am dying to buy so many items. I am still coveting the orange and white striped tent for my son's room.

My only concern about Land of Nod is that I can't see everything before I purchase. I want to touch and feel everything.
Well guess what, you can, if you live in Southern California. Land of Nod just opened a store in South Coast Plaza (Crystal Court). And since I have been obsessed with everything they sell I knew I had to check them out.
I have been following them on instagram and was so excited to hear that they would be having a VIP party. After a little instachat, I scored myself an invite to the VIP party.
Because it was in Orange County, I invited a good friend and was able to combine catching up with her, a fun party and shopping all into one evening.
Thank you Land of Nod for the invite.
And in case you are wondering below are the items I purchased.
For a friend's new baby.

For my master bedroom.

 Toy storage for my son's room.
Another gift for a friend's new baby.

Bought the letter D for our family room.

Wednesday, July 3, 2013

Despicable Me 2

I don't know about you, but my son LOVES the minions. I am lucky enough to work at the studio that created the minions and we pass by the posters every day. In fact, we pass a similar poster every morning:
And every morning, my son says "bee-do" over and over. It is both endearing and annoying. So for the past year I have been waiting for the premiere so that I could take my son.


On the day of the event I think I was more excited than he was. I woke him up from his nap so we could leave and as we drove to the Gibson Amphitheater he yells "the minion blimp." We had watched the video online hundreds of times and it flew over his school one day so he knew exactly what it was. We were both screaming in excitement.

Once out of the car we saw the crowds of people, the yellow carpet, the minions and stars. He is too young to appreciate standing next to Miranda Cosgrove from iCarly on the carpet but loved petting the minions.
Inside the theater, after getting our promotional gogurt, ring pop and some popcorn we sat down for the 3D screening of DM2. He LOVED the movie and was rather excited about the 3D experience explaining to everyone that would listen why we had to wear the glasses.
After the film, there was a giant party. From cookie decorating, green screen pictures with minions to real minion pictures and minion cupcakes he was high on life...and sugar. We stayed until the very end and he and I both enjoyed spending ime with good friends.

He even scored himself some party decor (pinata) to take home. This by far has been a highlight in our lives and something so special for us both. 

Tuesday, July 2, 2013

Summer Water Party

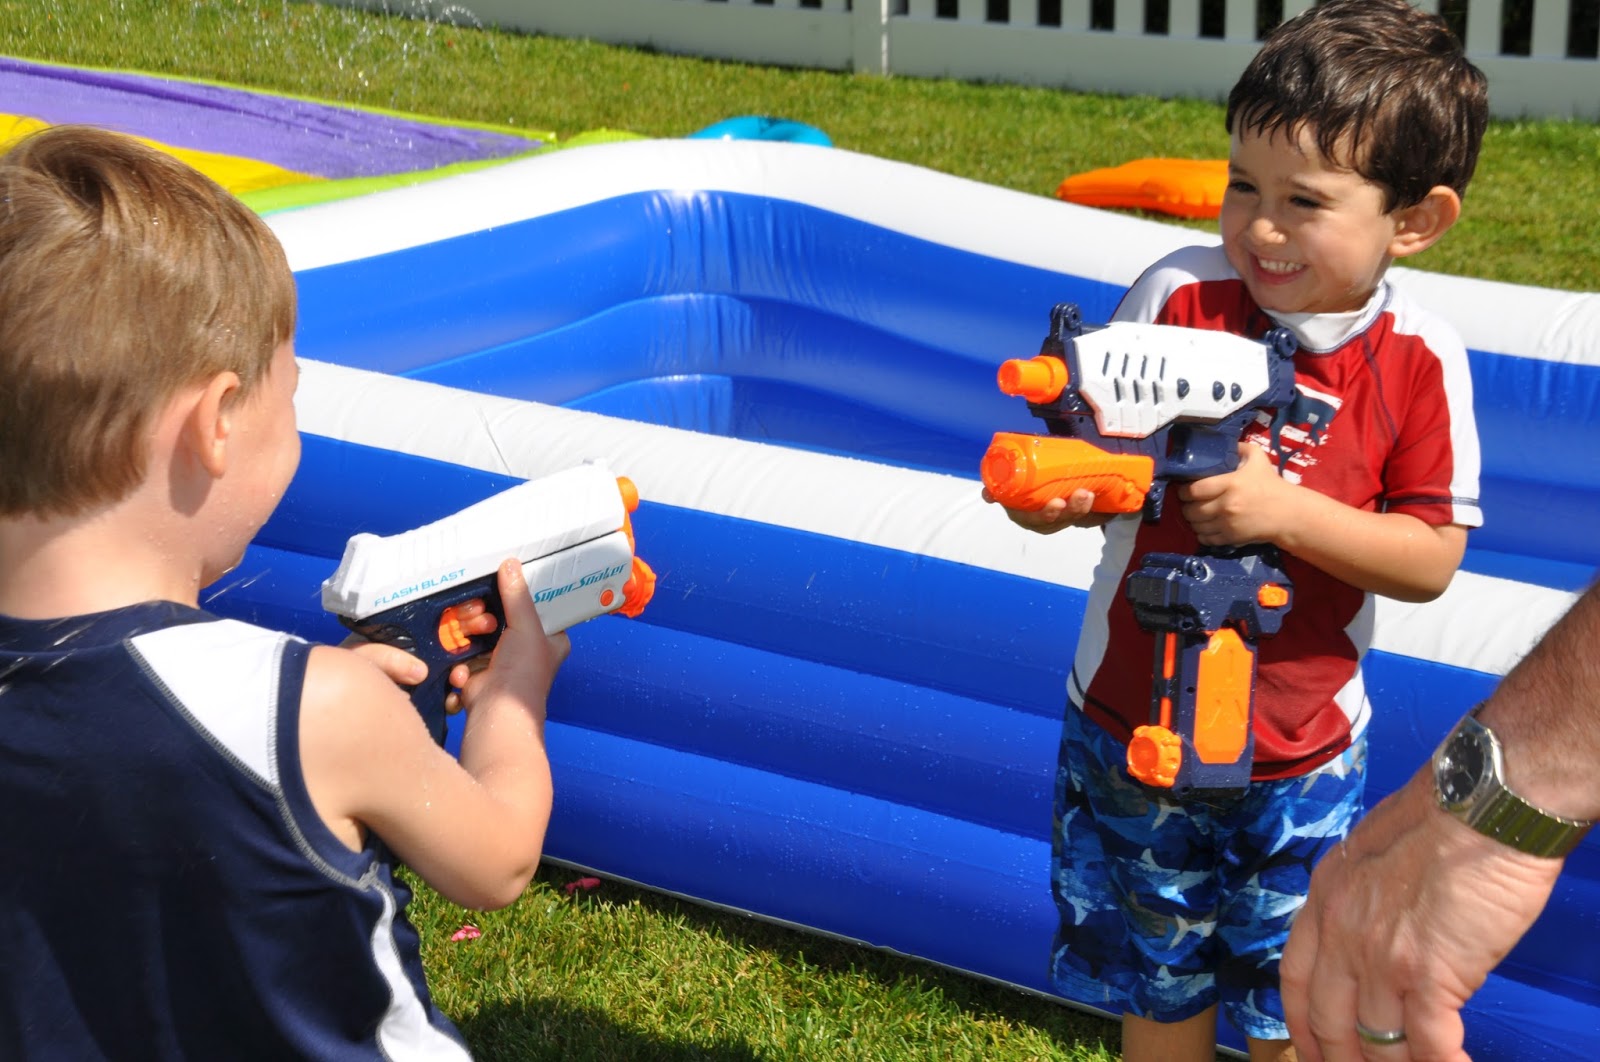
I recently hosted our second annual summer water party. This is my most favorite party to host because the kids absolutely LOVE it. This year I was able to combine the party with hosting a House Party. If you do not know House Party, check it out at houseparty.com. The party I was able to combine was the Cheetos/Super Soaker Block Party. It was a perfect tie-in.
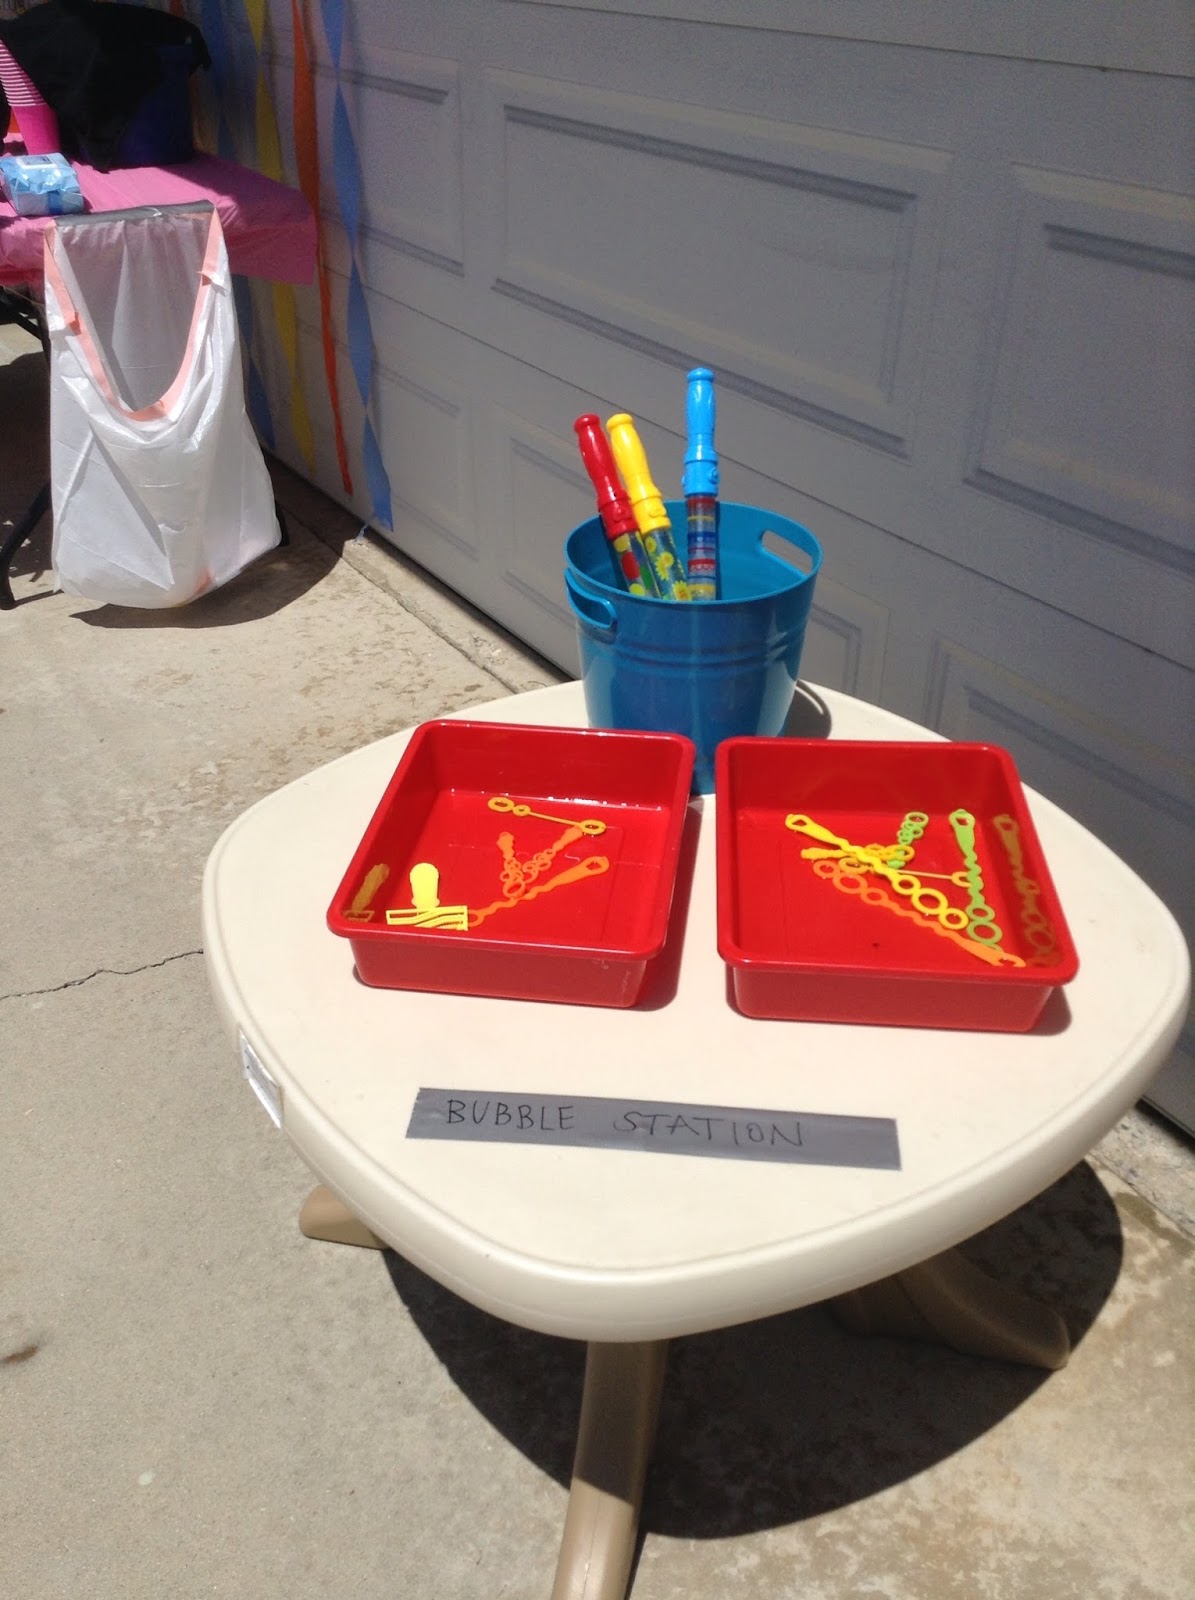
My front yard is much larger than my back yard and has no coverage so it is a great place to host a water party. I place a slip n slide, baby pools, water tables and buckets all around the yard. Everywhere you look there is water. I also set-up a bubble station, squirt bottles and the super soaker station. And this year, I added water balloons to the big pool. The water balloons went fast (took 35 min to fill 150 and 15 min for the kids to pop them all).
I also used the tassle garland and a summer banner for the food table. The cheetos made for a great visual as well.
Since the party was so simple, I decided to just post all of the photos and you can see the details and copy as needed. My son (3.5) actually filled every pool/bucket himself which was a huge help in preparing the yard.


Friday, June 28, 2013

Master Bedroom Wall Art

As you know from one of my first posts and currently most popular post, I am obsessed with Wall Art. I think I discovered it one late night on Pinterest. Back when I was creating the wall art for my neice, I created my own set. I was looking to add color to my master bedroom and create a focal wall. I found gorgeous paper at Paper Source and inexpensive frames from IKEA ($11 each).
But the task of hanging the art seemed too daunting. So after looking at the art leaning against the wall, I finally bit the bullet and hung them myself. 
I started by cutting white templates that were the same size as the frames and taped them to the wall. This helped me understand where I should place each frame. Sadly, these too hung on the wall for a few weeks until I was ready to master the project. Then I gathered my tools.

The mounting putty was key for ensuring that once hung the frames would not move ever so slightly and throw off the whole look. ;)
My first step was to measure the hook on the back of the frame and then mark the paper on the wall so that I knew exactly where to hammer in the nail.

Once the nail was in the wall I hung the picture, pulled the paper off (by pulling under the frame) and applied the putty to ensure the frames were properly positioned.
Below are the in progress photos as well as the final wall. I am so happy and proud of the finished product. I sort of want to add wall art all around the house now. 


Tuesday, June 25, 2013

Current Obsession: Tassel Garland

I am currently obsessed with tassel garland. How grogeous is the one below. But not $130 gorgeous!


So many of the blogs I follow or people I follow on pinterest are highlighting the tassel garland. I knew I could make it but every tutorial seemed so exact and time consuming (exacto knives, glue guns, too many things to find in my messy craft storage areas). I finally watched a youtube video - Thank you Tammy Mitchell (https://www.youtube.com/watch?v=f71yVgdmisw) and was officially inspired. So off I went to the $0.99 store and Target.

I found so many good colors and designs and some even on sale. I could not wait to get home to start cutting and rolling.
I grabbed scissors and tape and started cutting and folding and then I realized, wait this could be done so much faster if I folded multiple sheets together and cut and then separated. Viola, crafty version not the artsy version. And it worked.


I absolutely LOVE the finished product. I plan to use for my son's summer water party (future post so you can see it in action). Now that I am obsessed, I need to figure out where to get the sparkly paper and want to create one for my master bedroom (yes I am like a 3-year old) and for my son's 4th birdthay in November (crazy planner, I know). 


Thursday, June 20, 2013

Mirror Mirror

Oh, how I love Pinterest. It has made me a more active crafter and helped me take a dip into the interior design pool. I saw an idea to hang cheap mirrors onto the wall. I figured this was a cheap investment to trying out this plan. Of course to execute this properly, I had to redesign my whole master bedroom. So this is the first post on the new master bedroom. Unfortunately I started the project before I started blogging so I did not take before photos.

One wall in my bedroom has two doors leading to the closet and the bathroom. This is the wall you see when you walk in the door. I decided I wanted a white desk for the TV. I realize I should, probably move the TV out of the room, but for now I still love watching TV in bed. So I decided to add three white mirrors above the desk.
I absolutely LOVE the look and am so glad I did it. Also, as I mentioned early it was so simple. After measuring to see where to hang them, I used double sided mounting tape and stuck them on the wall. The double sided mounting tape holds up to 2lbs and has come in handy for hanging other things as well. My new addiction.
Final picture below. I still need to find a solution for covering the wires under the desk. The basket is temporary.

Monday, June 17, 2013

My Lil Buckaroo Turned Two

Now that I am blogging, I had to share my best party to date. My son's 2nd birthday was the most amazing party. I was at the top of my game in party planning. I chose the Western theme because I wanted to have ponies at the party as the entertainment. I was also working with the AndersRuff team on a professional basis so they customized the party for me. Additionally, the moons aligned and my parents drove down a few months earlier and were able to bring a few western elements from Montana.
Due to the weather, we had to add plastic to keep the rain off the back patio. This actually ended up being the best thing because we were able to create the illusion of an actual room. This space was fantatsic.

This is a great view of the kids table. I used the polka dot gable boxes and AndersRuff created adorable stickers for them as well as customizable bag tags which I laminated. You can also see behind the table the saddle (brought down by my parents) as well as other collectibles on the hay bales. I made the garland out of inexpensive bandanas tied together.

I used glass bottles adorned with AndersRuff printables and straws in the glass botlles for milk for all of the kids.

The Pony Corral held all of the take home gifts. Note for parents, probably best to distribute after the party for 2-year olds. I did not anticipate the banging of sticks into one another after the cake eating.

I love doing photo booths at my parties and set one up here with printables from Cake and Paper.

The dessert table was one of my most proud moments. I searched Pinterest for ideas and decided with this execution. The fabric I found online and called a shop in Oklahoma and they shipped it to me. The pitcures were from a photo shoot at my parent's ranch in Montana a few months prior and really helped set the overall tone.

Cow Cake Pops - WOW! They turned out so great. I practived a few times prior but really loved the outcome. Of course, my 2 year old took one look and said "Pig".

The cupcake toppers were perfection and courtesy of Two Sugar Babies. Her work is amazing. Check out those bandanas. LOVE! I also made the cake stand. A friend of mine had done this and I borrowed it for his first birthday. After I saw it, I knew I could make one myself. It was super easy. I used brown craft paper over foam circles and squares and hot glued them together. Then I added the faux barbed wire around the squares, the ribbon around the circles and adorned with crepe paper medallions and the AndersRuff circles.

Firefly Confections did the cookies. So gorgeous and they tasted great too.

Candy wraps by AndersRuff. These were perfectly placed for two-year old hands. :)

Photo booth in action with my parents and all of their grandsons.

My lil buckaroo and his cow cake. The sparkler really scared him. We did not repeat this for the 3rd birthday. lol.

Waiting for another rony ride.

The big excitement - live ponies. About 8 of the 20 kids rode the ponies. My son of course did not want to get off and rode them for about 45min.
The whole party was magical and everyone had a blast. I cannot wait for this years party. he is turing 4 and the theme is race cars. I have already started the planning and the party isn't until November. lol.